Help!
Turning a spring swamp into a sparkling pool – Part 1

Sep
Every swampy pool has a story, some more interesting than others. In this particular case, a renovation accident caused the accidental drainage of the pool. The pool was then topped up without adding the necessary chemicals, and left to sit over winter for a few months. Let’s use this as a demonstration of how you can clean up even the ickiest of pools using only standard chemicals.
The following shows the actual steps we took to get this pool back to beautiful crystal clear water.
Step 1 - Clear the debris
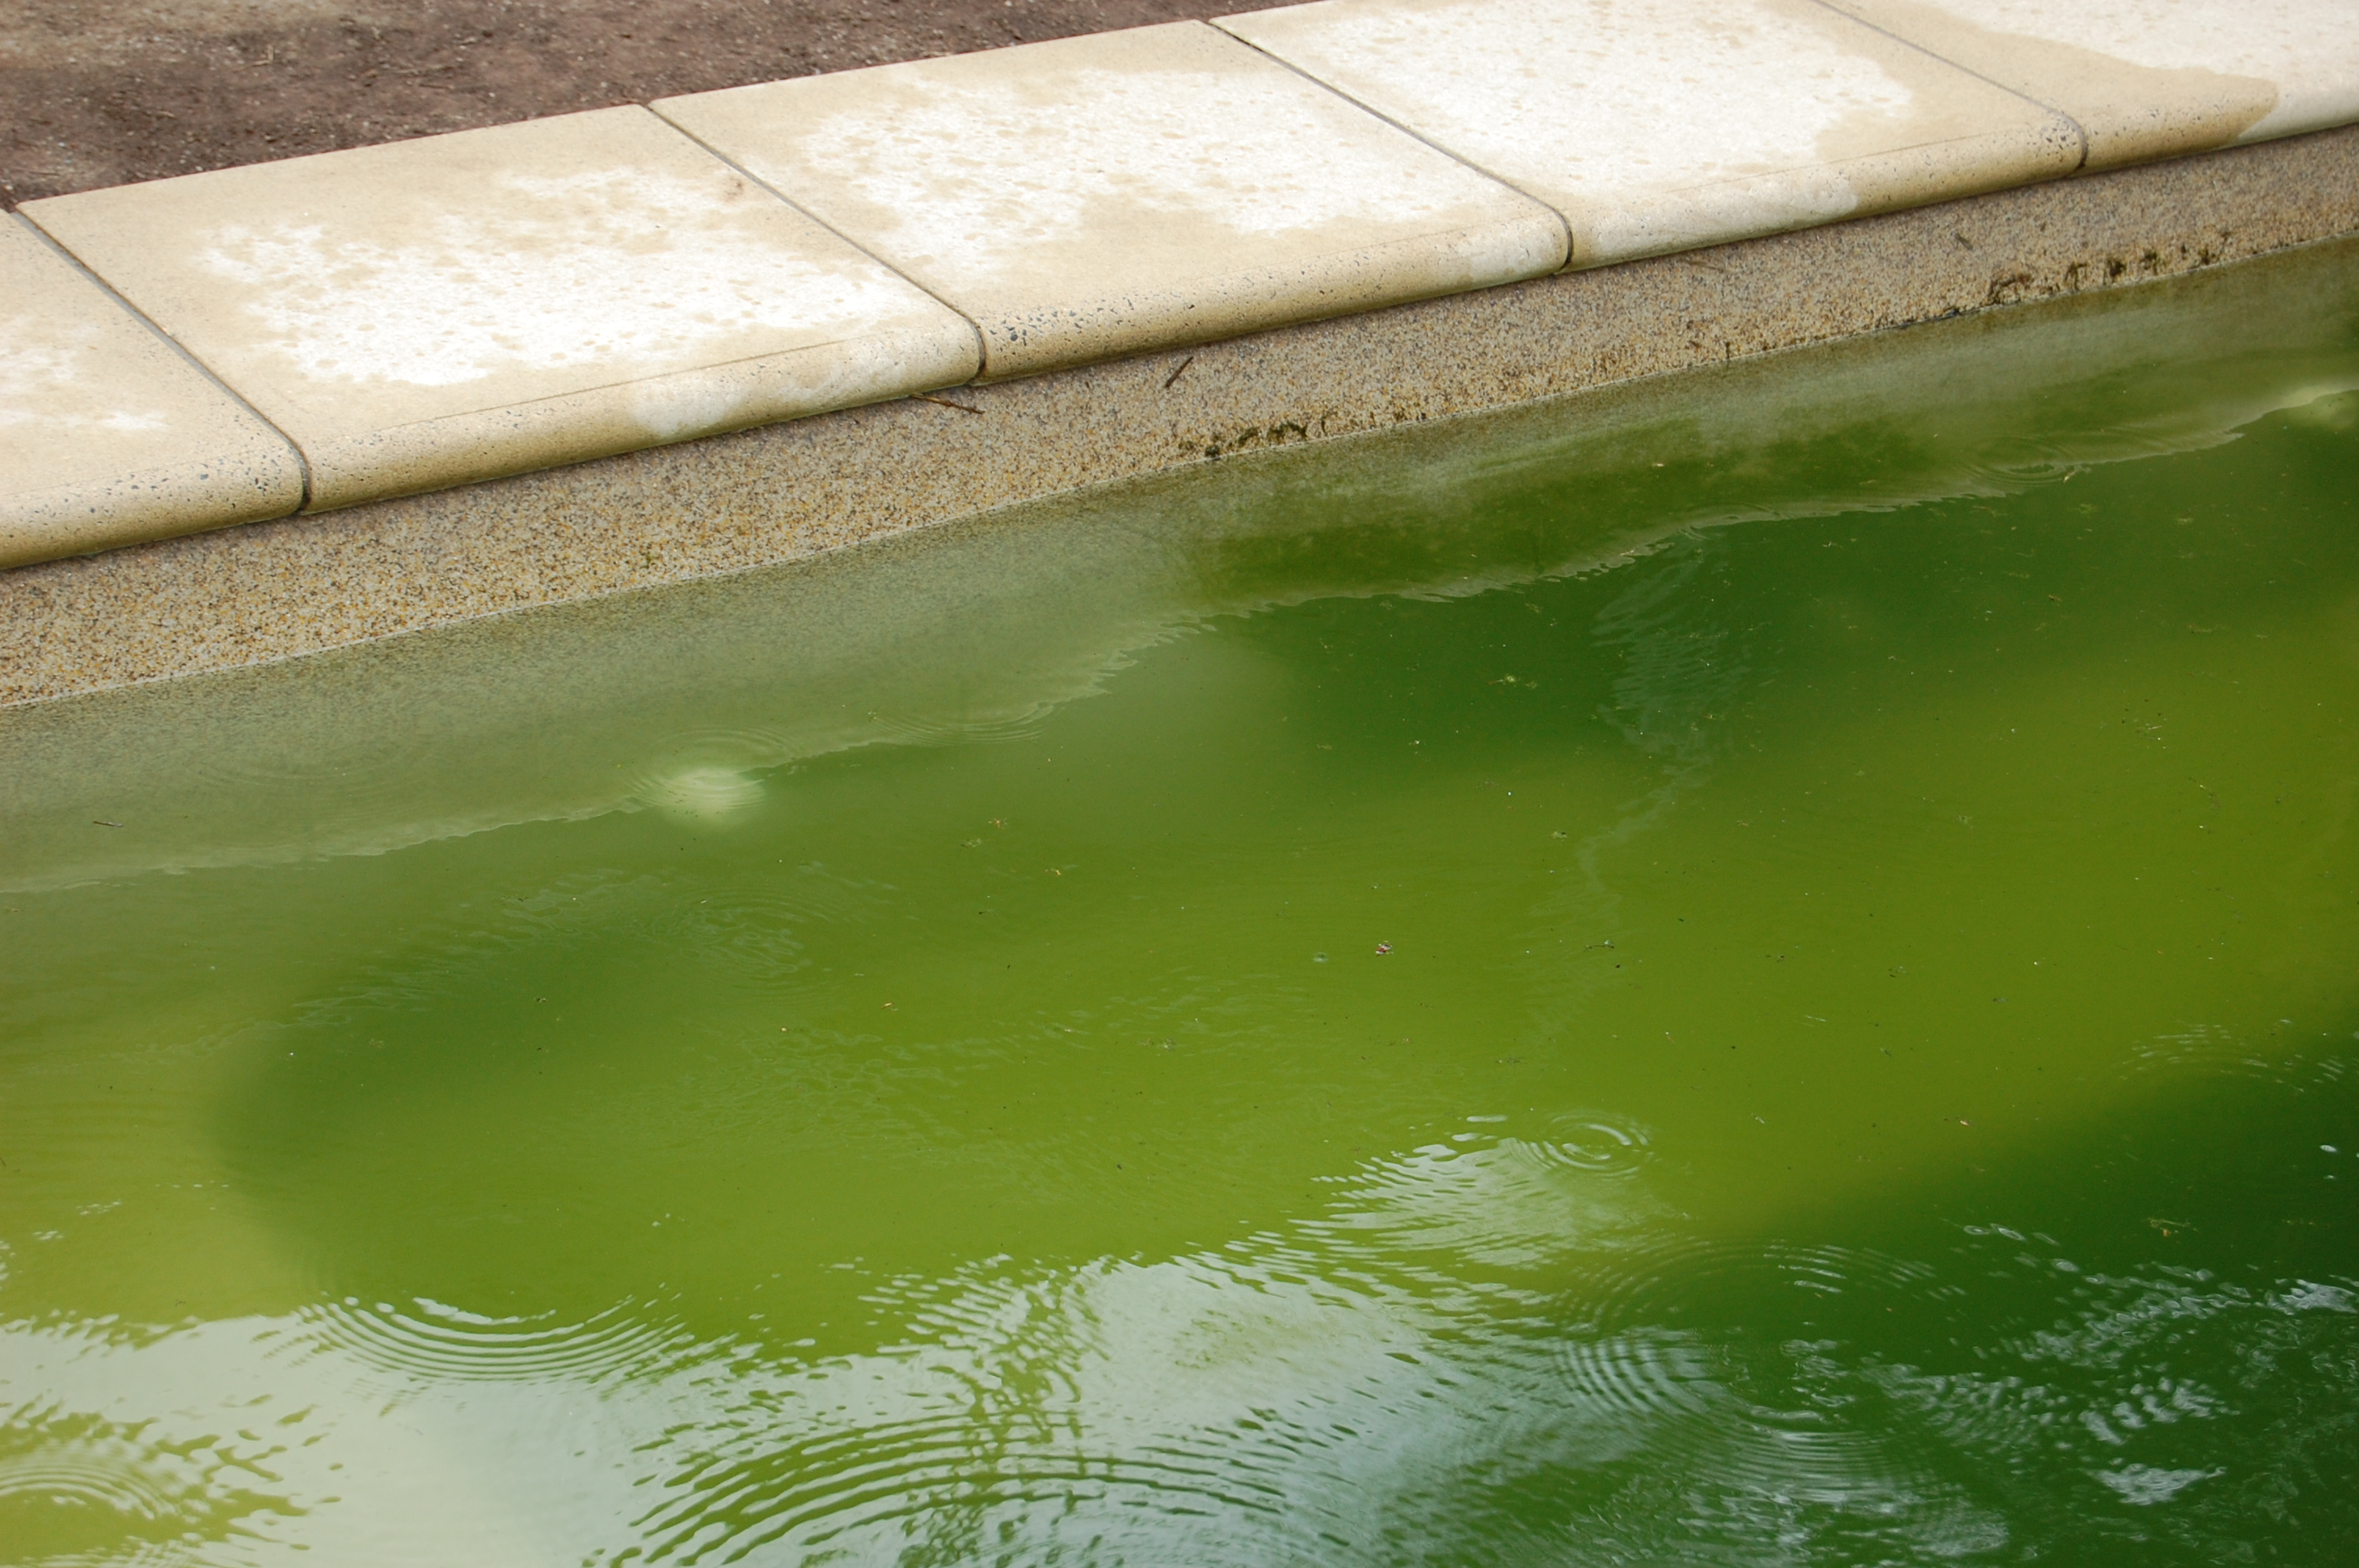
First things first – we need to remove as much of the solid contamination as we can. Branches, leaves, grass, insects… anything that doesn’t belong in our little oasis needs to be pulled out using a net.
Then we brushed down the sides of the pool, you can see what a difference that makes immediately, but don’t worry about getting every last speck off the walls. There will be plenty of time over the coming days to get anything that you miss the first time around. When there’s a lot of algae all together, it forms a protective biofilm, which actually stops the chlorine attacking and killing it. The more we remove the biofilm, the quicker our pool will clear up.
This pool has a cartridge filter, so we cleaned it. We then vacuumed the bottom of the pool, keeping a close eye on the pressure valve. Once the pressure shot up, we cleaned the cartridge again. We repeated this process until the bulk of the settled algae on the floor of the pool had been removed (a total of 3 times – different pools will vary).
It might well have been easier to vacuum the algae to waste. However, we are coming into the beginning of a new dry spell, and although there’s no restrictions on our water consumption here in Brisbane, we still didn’t want to waste it.
Step 2 - Adjust the chemistry

This involves performing the full suite of water tests and determining what can be fixed quickly, and what can wait. This pool has no free or combined chlorine (obviously!), but the pH, salt, and cyanuric acid (CYA) were out of balance. We fixed the salt and the pH, but left the CYA until after the pool is clear as this is a slow dissolving chemical.
Then it’s time to add the chlorine!
Step 3 - Shock the pool
For this fibreglass pool with a salt water generator and no CYA, the target shock free chlorine level is 10ppm. We added the chlorine, allowed it to mix, and then waited for an hour.
We then retested the free and combined chlorine levels. Free chlorine was up, and so was combined chlorines. Excellent news, because that means that the chlorine is doing its job. We topped up the free chlorine to 10ppm again, and repeated this cycle until the pool stabilized at 10ppm for 3 hours. After a hard afternoon, it was finally time to leave it for the day, and let the chlorine do its job.
Note: Although it is recommended, we cannot run the filter 24/7 due to noise restrictions and client request. The more you can filter your pool, the quicker your pool will clear up, but not everyone has the ability to stomach the electricity bills that can follow a 24 hour per day pool pump. Fortunately, it’s not necessary to do it for that long.
We’ll check in on this pool in Part 2, tomorrow.